Ultimate PCB Cleaning Guide: Methods, Tips & Best Practices
 02 Jul 2025 11:26:16 GMT
PCBASAIL
Table of Contents


I. Introduction
Ordinary electronics have been in use for a long time, and their circuit boards
inevitably become covered with dust. When dust accumulates excessively or the air
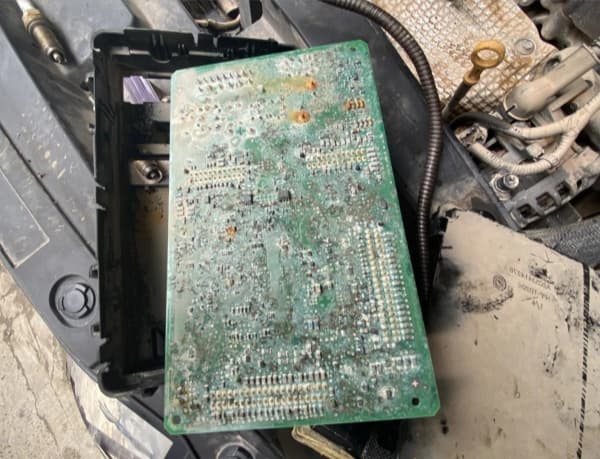
humidity is high, it can corrode the board or even lead to a short circuit. Whenever you
see a lot of dust on a PCB, it’s time to clean and maintain it. Even before leaving the
factory, more complex boards—like system boards, graphics cards, sound cards, network
cards, and so on—undergo cleaning. The purpose is to remove any flux residues,
fingerprints (even though everyone handling these devices wears gloves), and other
harmful substances that cling to the board during assembly.

In mass production, manufacturers use specialized cleaning fluids (commonly called “PCB
wash”) and automated washing machines. For individual users, however, it’s impractical
to operate like a board manufacturer; you only need to be careful and cautious during
the cleaning process. Cleaning a PCB isn’t difficult or scary—it’s completely doable
with the right approach.
II. Why PCBs Need Cleaning
Cleaning a PCB after manufacturing and soldering is a crucial part of the electronics
assembly process. It directly affects the device’s overall durability, reliability,
performance, and lifespan. During assembly and manufacturing, PCBs can become
contaminated with flux or solder, handling or environmental dirt—such as residues, dust,
moisture, resin or lacquer, fingerprints, or oxides. Some contaminants can even be
corrosive, damaging circuit traces and connections, leading to shorts or malfunctions
that shorten the device’s service life. Removing these kinds of debris ensures that
functional failures don’t occur over time and extends the equipment’s usable life.
When cleaning assembled PCBs, the main goal is to remove resin and flux residues left on
the board. Industries such as automotive, telecommunications, military, and aerospace
require that PCB assemblies be completely free of any potential contaminants. A
contaminant-free PCBA is essential before the next manufacturing steps—whether that’s
underfill, epoxy staking, or conformal coating. If flux residue remains on the board, it
can impair solder wetting and promote delamination. Additionally, a clean PCB simply
looks more professional.

During inspections or future troubleshooting, having a clean, tidy PCB is also
beneficial. When you clear away residual contaminants or stray solder, it’s much easier
to spot defects or potential issues.
You may encounter “no-clean” fluxes advertised as not requiring PCB cleaning after
application. However, even boards soldered with “no-clean” flux benefit from a cleaning
step—it prevents leakage currents and improves appearance. Although these fluxes are
designed to leave minimal residue, they don’t entirely eliminate the need for cleaning.
III. Main PCB Cleaning Methods
PCB cleaning typically employs different methods, each with its own advantages and
potential drawbacks. The method you choose depends on factors such as board complexity
and component density, available equipment, cost and budget, the number of boards to
clean, environmental impact, and time constraints. The main cleaning methods are:
Below is an overview of each approach.
1. Manual Cleaning
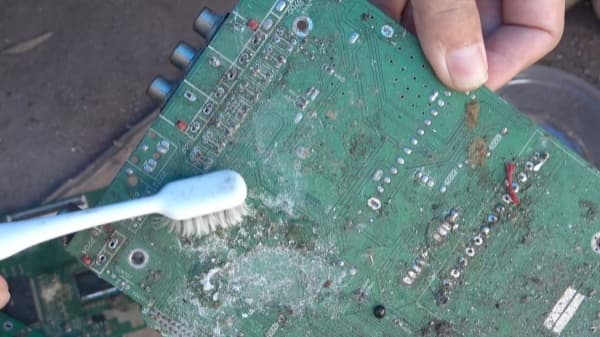
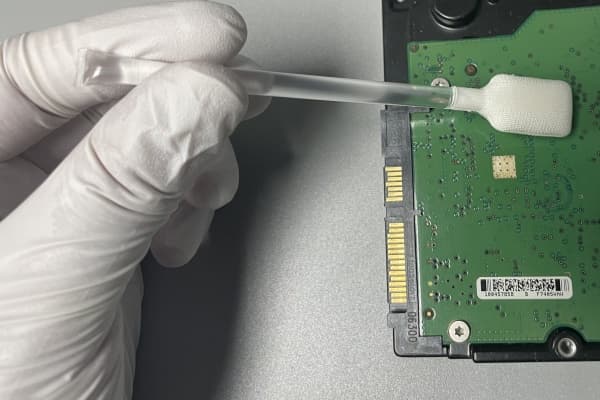
One of the most common PCB cleaning methods is manual cleaning. As the name suggests,
any contamination or leftover solder can be removed by physically cleaning the board
with alcohol-based solutions and small brushes. Sometimes other tools are used alongside
brushes to physically dislodge debris.

Typical procedure:
Pros:
Cons:
Manual cleaning is best suited for prototypes, small batches, or quick maintenance when
thoroughness and speed aren’t critical.
2. Ultrasonic Cleaning
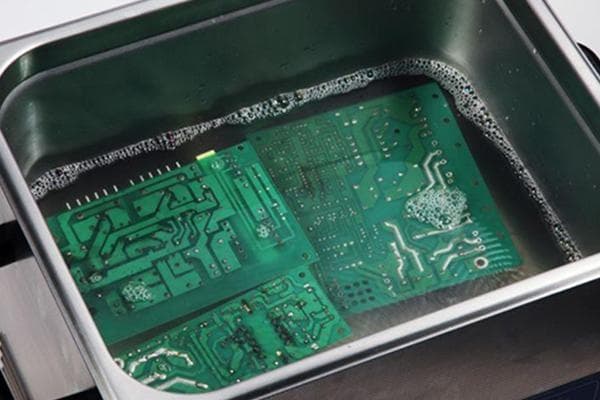
Ultrasonic cleaning uses a specialized machine designed for PCB cleaning. Like the
manual method, you first soak the board in an IPA solution to free surface dirt,
pollutants, or excess solder. Then you place it in the cleaning-fluid tank inside the
ultrasonic cleaner. The machine emits high-frequency sound waves into the liquid,
creating billions of microscopic cavitation bubbles. When these bubbles collapse, they
physically strip contaminants from the PCB—a process known as cavitation.

Pros:
Cons:
Ultrasonic cleaning is the go-to for boards that are too intricate for brushes but where
you’re willing to accept a measured risk of component stress.
3. Vapor-Phase (Vapor Degreasing) Cleaning
Also called vapor degreasing or vapor-phase cleaning, this method boils a chemical
solvent to generate vapor, which then dissolves dust and contaminants on the PCB. After
the vapor condenses back into liquid form on the cooler board, gravity returns it to the
boiling bath, completing a closed-loop cycle.
Pros:
Cons:
Vapor-phase cleaning is common in industries with stringent cleanliness standards—such
as medical or aerospace—thanks to its consistent, automated performance.
4. Deionized Water Cleaning
Deionized (DI) water is a safe, effective solution for removing water-soluble flux
residues. If you use a water-soluble flux in your leaded or lead-free solder paste, you
can rinse the PCB with DI water. Online or batch washers deliver high-temperature,
high-pressure DI water (typically around 144 °F at 45 psi) to wash and rinse assemblies,
followed by forced-air nozzles to dry the board. Ionic and resistivity tests verify
cleanliness afterward.
In some cases—particularly with eco-friendly, water-based fluxes—you can manually soak
assemblies in a water-based alcohol cleaner and then rinse with DI water. Since DI water
is the purest form of water, quality-focused contract manufacturers often standardize on
it for PCB washing.
Pros:
Cons:
IV. Selecting Your Cleaning Method
When deciding which cleaning approach to use, consider these factors:
For hobbyists or small labs, a practiced manual routine with IPA and soft brushes often
suffices. As you scale up—or if you handle mission-critical or highly dense boards—you
might invest in ultrasonic or vapor degreasing systems.
V. Best Practices & Tips
VI. Conclusion
PCB cleaning may seem like an extra chore, but it’s a vital step to ensure your
electronics perform reliably and last longer. Whether you choose manual scrubbing,
ultrasonic cavitation, vapor-phase degreasing, or water rinsing, pick the method that
matches your board’s complexity, production volume, and budget. With careful attention
to technique and best practices, you can keep your PCBs looking pristine and functioning
flawlessly for years to come.